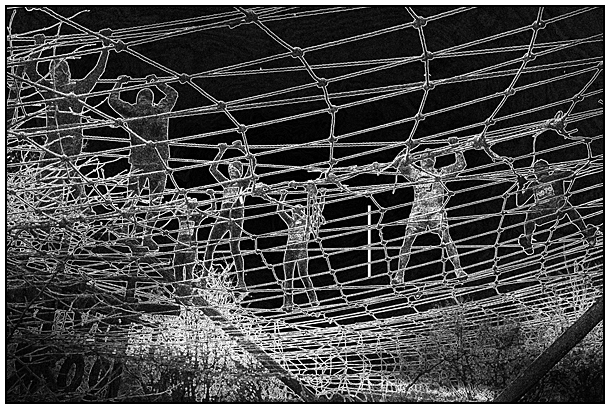
With the Copy Layer active:
Image > Adjust > Invert - to make a 'negative' version. (Quick Key: Ctrl + I)
If necessary at this stage, to improve contrast, return to Channel mixer Adjustment Layer and tweak the settings.
Tip: In extreme cases another Adjustment Layer, 'Threshold', can be added and 'grouped' ('clipped') above the Channel Mixer layer and adjusted to produce black - white contrast. However this is an extreme measure.
Tip: Should you wish to be selective about what you sharpen at this stage, use black to paint-out areas not required for sharpening and white to emphasise, thicken or extend areas you wish to include in the sharpening treatment.
Next:
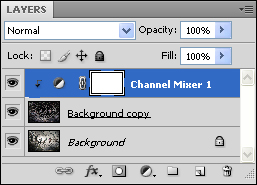
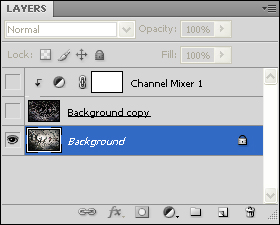
Activate (click on) the Channel mixer Adjustment Layer
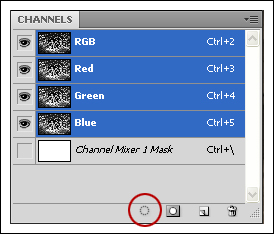
Go to the Channels Palette
Click on the 'Load Channel as a Selection' icon
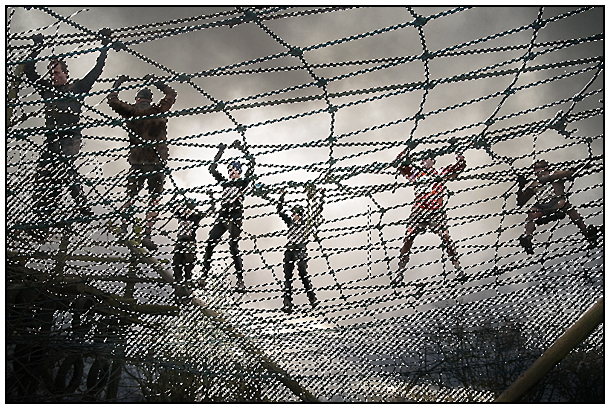
Return to / activate the (original) Background layer - This is the layer to which the sharpening is going to be applied. The work on the (copy) layer above has been to 'find' the edges, separating them from the noise or grain.
Switch off (click on the eye) for both the Channel Mixer Adjustment Layer and the Copy Image Layer - they no longer need to be visible - they've done their job! See below:
Hide the 'Marching Ants' by Ctrl + H
Go to Filter > Sharpen > Unsharp Mask > adjust to suit
That's it - only the edges will have been sharpened, leaving noise and other areas unsharpened
The saved selection is available for further use.
Don't forget to de-select the selection (Ctrl+D)
One more thing. Although the sharpening applied in this example was by 'Unsharp Mask', you could use another sharpening method or tool. The choice depends upon the image and what you need.
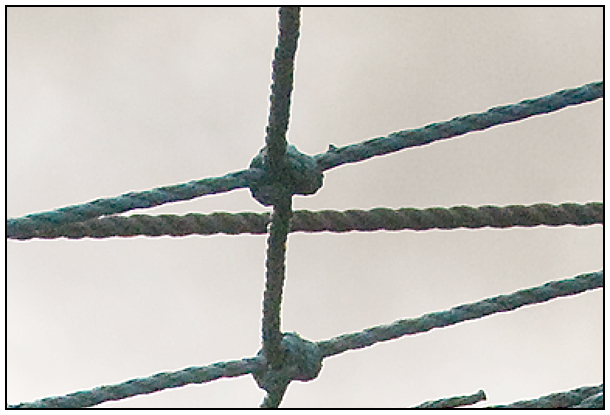
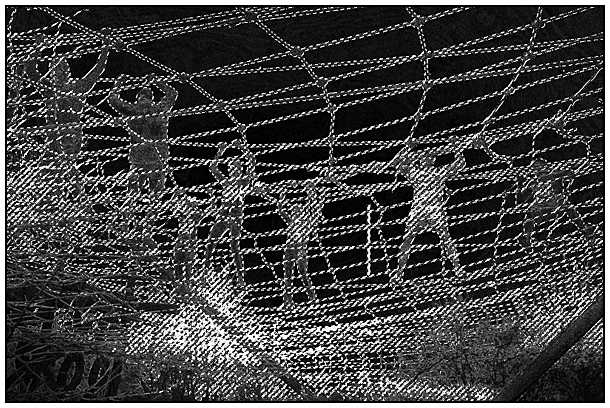
Above:
At 500% on-screen magnification:
Detail showing final stage - sharpening complete, edges crisp and no noise
in background