Sharpening
with
Unsharp Mask
Clive R. Haynes FRPS
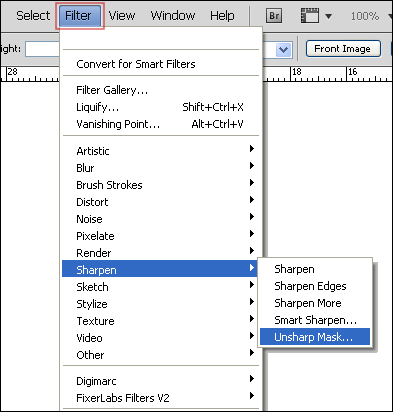
The most commonly used form of sharpening in Photoshop is 'Unsharp Mask' which is available via Filter > Sharpen > 'Unsharp Mask'. This term, a seeming contradiction, originates from the print industry and the days of darkroom-based photography and relates to a sharpening effect that can be given to an image by combining a sharp original and a lighter, softly-focused, unsharp version. When opening Unsharp Mask and looking at the dialogue box we find three levels that can be set. These are 'Amount', 'Radius' and 'Threshold'.
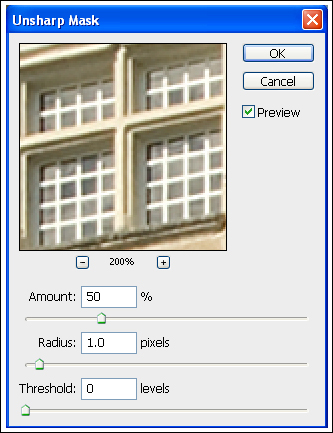
Amount:
This determines the amount to which you wish to sharpen - the higher the
value, the more sharpening applied.
Radius:
This determines the thickness of the edges to be sharpened - the lower
the value, the sharper the edge effect. Higher values thicken and spread
the edge over which the contrast is increased, thus giving a larger 'halo'.
See the Radius screen-grabs on the next page.
Threshold:
This determines at what point the filter is applied. A low value ensures
all pixels are sharpened. Increasing the value gradually changes the contrast
point (threshold) at which the filter begins to work. Threshold alters
the amount of sharpening in proportion to the contrast within the scene.
Experimentation will soon reveal how this works.
What settings are best? This will depend upon the resolution of the image, however as a general guide, here are some basic settings:
Amount: Between 50% and 200%
Radius: Between 1.00 and 2.00 In practice however, a value of 1.00 is typical
Threshold: Zero. NB. There are advantages in adjusting this setting but it is image-dependent.
If an image needs a substantial boost in sharpness, it is generally considered better practice to add two 50% amounts of the setting rather than to apply the full amount in one application. Firstly, determine how much sharpening is needed, then set the 'Amount' to 50% of the value. Re-apply the sharpening at the same setting (another 50%). For instance, say an image needed an Amount setting of 400%, Radius: 1.0 and Threshold: 0. Apply USM first as: Amount: 200%, Radius:1.0, Threshold 0: then do it again with the same settings. The best way to discover what settings are best is to experiment.