'Levels'
Clive R. Haynes FRPS
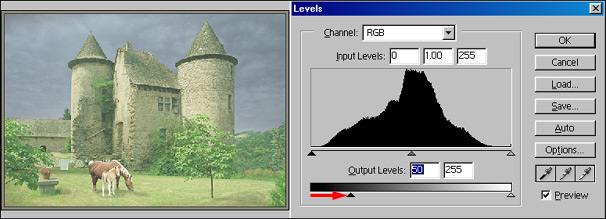
To continue our exploration of what 'Levels' can offer, we'll look at the 'Output' gradient and its 'slider' controls.
Above:
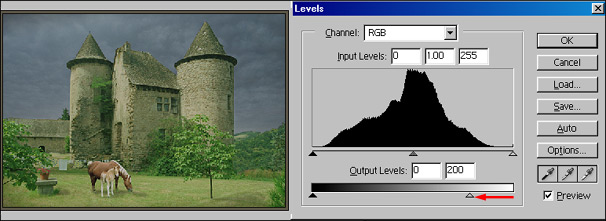
By moving the 'Output' slider along the gradient from white to light grey,
the lightest tone the printer can now use is light grey.
This reduces the contrast of the print, darkening light tones. This feature can be used with care to introduce a little 'tonality' into a 'burnt out' white area - in 'darkroom terms' - 'flashing the paper'.
This reduces the contrast of the print, darkening light tones. This feature can be used with care to introduce a little 'tonality' into a 'burnt out' white area - in 'darkroom terms' - 'flashing the paper'.
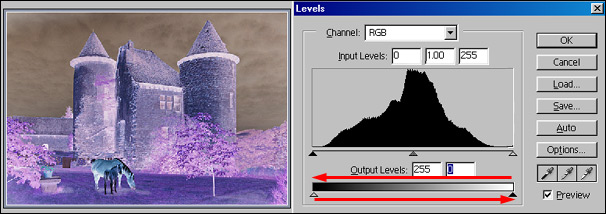
Above:The result of crossing the black and white slider controls over so that the printer is instructed to print black as white and white as black - the result? A negative image.
Above:
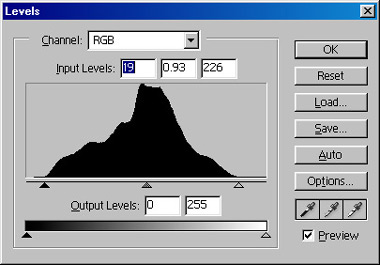
Levels adjustment
Above:
The Levels dialogue box - after setting
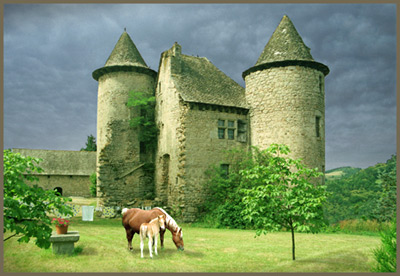
By reducing the distance between the black and white points, the contrast has increased.
The image now has a full black and an absolute peak white.
The mid-grey point has remained in the original position.
To
discover more about 'Levels' - click the link below