RAW Files
A Basic Outline and Guide to Understanding and Using 'Camera RAW'
Clive R. Haynes FRPS
One very important aspect about working with the Camera RAW File Browser in Photoshop is the ability to apply the changes made to one image to other selected images in the Browser View.
Let's
look at an example:
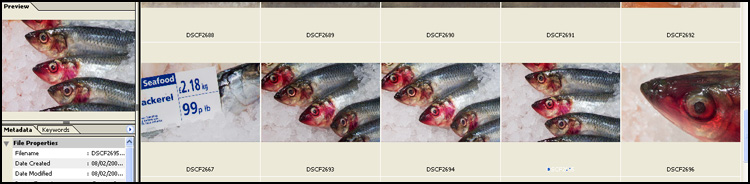
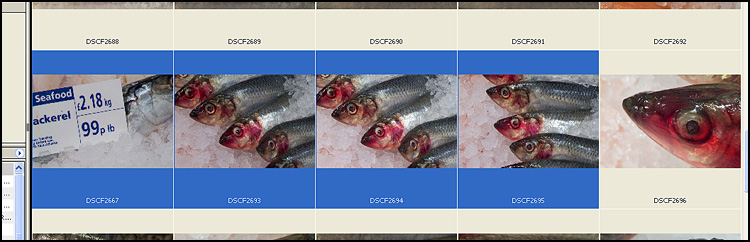
I took a series of pictures at a fish counter in a local
supermarket. I used 'available light' which was a mixture of fluorescent strip
and tungsten. I shot the pictures using the RAW setting on the camera and the
camera was set to 'Auto White Balance' mode (not that in 'RAW' this was really
going to affect anything).
I made certain that I would take one shot that included
a 'reference white' under the same lighting conditions - a counter 'display card'
proved useful for this - see below.
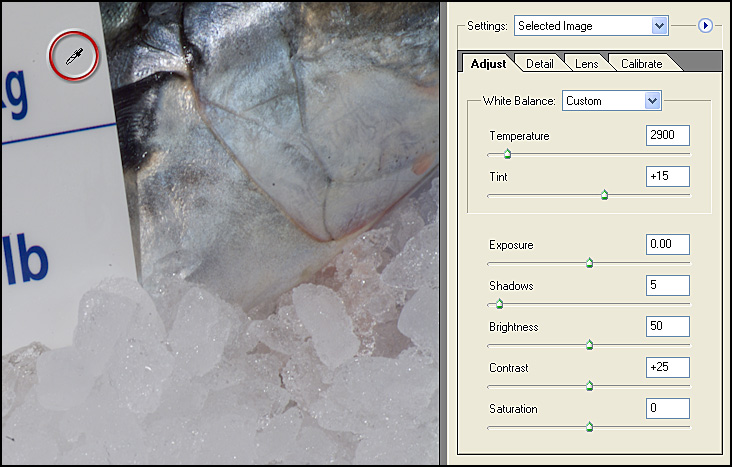
Viewing the images in the Camera RAW Browser I opened the image with the 'reference white' included. As described in an earlier section (about 'White Balance using Camera RAW'), I used the Eyedropper' tool in Camera RAW to click on the 'reference white' (Eyedropper circled in red below and it was in this area I sampled the 'white'). The white balance of the image immediately changed and looked more natural.
Next I opened the image to make certain all was well. All OK, so I closed this image '(whether you choose to 'save the image or not doesn't matter).
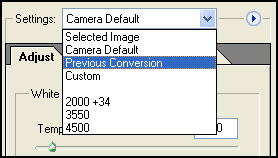
For
the purposes of this demonstration, I wished to make the same change to the following
three images in the browser. To apply this change to all three, I clicked on the
one that had been changed thus highlighting it, then holding down
the Shift Key, I clicked on the final image of this small group and this highlighted
them all. See below:
Should you wish to apply the change to images are not
contiguous (that is they are not 'next door to each other'), then use the Ctrl
Key instead of the Shift Key. With the Crtl Key held down, click on the images
you wish to choose. Ctrl clicking an already selected (highlighted) image will
deselect it.
In the File Broswer Window, go to the browser menu section towards to top left corner of the browser window.
Click 'Automate', then choose 'Apply Camera RAW Settings'. This brings up the 'Apply Camera RAW Settings' dialogue box.
As you will see, you can be selective about what settings you choose to apply by 'ticking' / 'unticking' the boxes.
In this instance, I left all 'ticked'
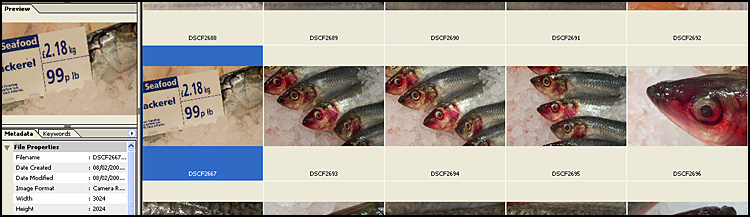
Next, go to 'Settings' > First Selected Image' and click the 'Update' button.
See 'screen grab' below.
I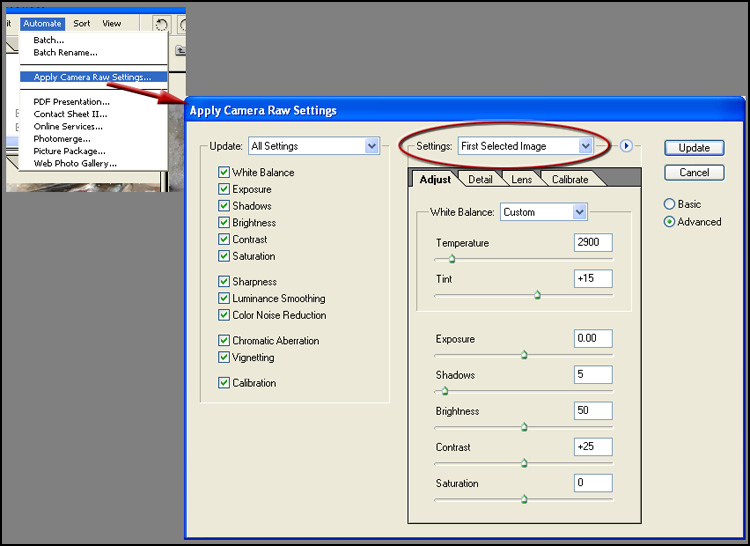
That's it, job done.