Gently Applying a Filter
via
'Quick Mask'
Clive R. Haynes FRPS
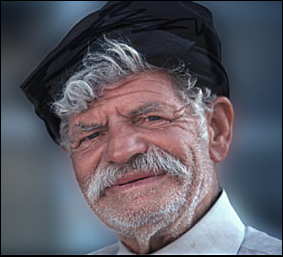
Open the image
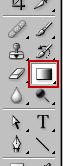
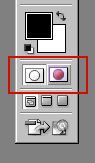 Left: The Quick Mask icon near the base of the Tool Bar
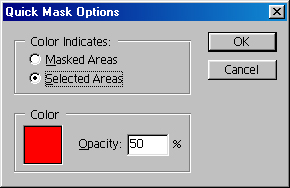
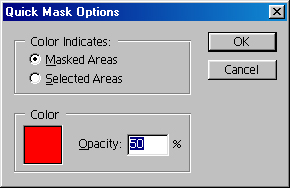
 Note: Photoshop defaults to 'Masked Areas' - you may wish to change this.
 Left:
the Gradient Tool
Left:
the Gradient ToolSet the f/g colour to black, the b/g colour to white
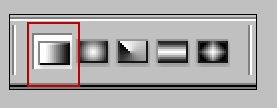
Choose Foreground to Background for the gradient option. (You could click on the pre-set 'Black - White' Gradient option if you prefer)
For this example,
a 'Linear Gradient' was chosen
Set the opacity of the gradient
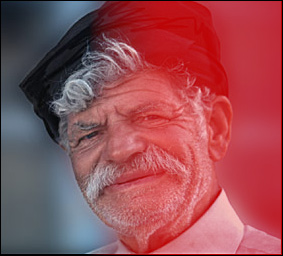
Applying the Gradient
Drag the cursor across the image - and a translucent red, 'Ruby Lith', area will appear
Tip: To drag in a precise horizontal or vertical direction - hold down 'Shift' when you 'drag'
You may require several attempts to place the gradient where you require it, to estimate it's transition and to set its opacity.
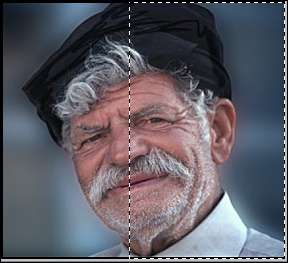
Exit Quick Mask by clicking on the left hand Quick Mask icon/button or by 'Q' on the keyboard.
Now the selection will be visible as 'marching ants' (the mid-point of the 'feather' is indicated ).
If it should be the wrong way around, 'Inverse' the selection (Ctrl + Shift + I).
Tip: Should you wish to alter the feathering, Ctrl + Alt + D will show the 'Feather Radius' dialogue box.
For this example Filter > Brush Strokes > Splatter, was used
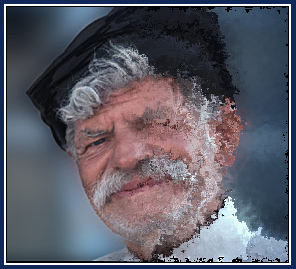
Neither image will win any prizes but I hope they'll give an idea about how the Quick Mask Gradient can be applied.
Have fun!
