The
Pen Tool ![]()
An
Introduction to Making 'Paths'
Clive R. Haynes FRPS
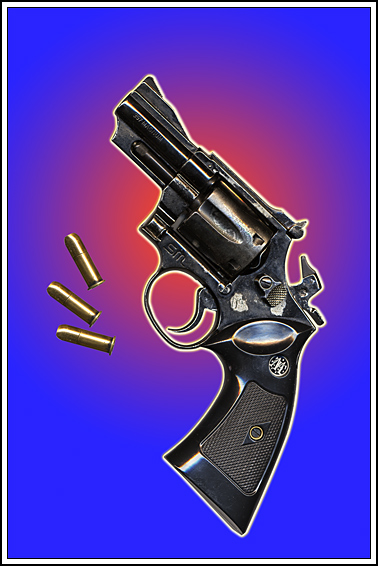
After being 'pasted into' a new document, the 'Path' was 'Stroked' making a yellow outline, then a 'Radial Gradient' was added as a background.
Photographers frequently approach the 'Pen Tool' and the topic of 'Paths' with trepidation. Graphic artists and designers use 'Paths' all the time but for most photographers the whole business is something of a grey area.
Some people swear by 'Paths' whilst others swear at it! One thing's for certain though, and that is by mastering the fundamentals of 'Paths' you'll be more adept, capable and versatile in making precise 'selections' - and what's more you'll impress the heck out of friends and colleagues who avoid this excellent tool.
I hope this introduction to the 'Pen' and 'Paths' will help in a better understanding and encourage its wider use.
Why
the 'Pen?' Why 'Paths?'
Because making accurate 'selections' is critical
to producing convincing 'cut-outs', montages and composite imagery, Photoshop
presents many ways for 'selections' to be made
Some selection methods work better for some subjects and circumstances than others - in short, it's a matter of 'horses for courses'. However, without doubt the best tool for making precise, geometric selections resulting in 'Paths' is the 'Pen'.
So what's so special about 'Paths' and why is it, on the surface at least, such a difficult set of tools to become familiar with?
One reason for the reluctance of many people to use the 'Pen' is that it's not immediately intuitive, it doesn't perform like a real pen (or brush or a pencil for that matter) and it doesn't work quite like other, similar, tools.
To better understand the way in which this tool works, let's start with an exercise:
Click on the 'Pen Tool' icon and from the drop-down menu choose 'Pen Tool'.

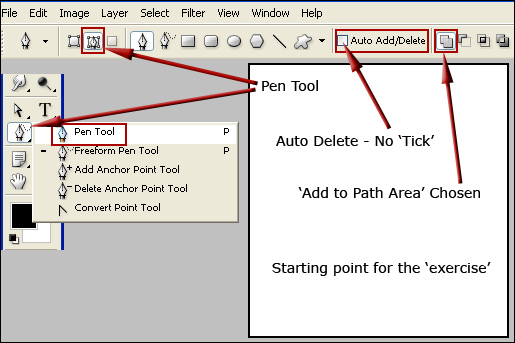
In later versions of Photoshop,( PS6, CC), the style and colour of the Tool Bar has changed (to black) together some changes to the layout and appearance of the Path Options Bar. See update screen-grab below.

You are now ready to begin the exercise. &
Open a 'New Document': File > New (Ctrl + N) In the dialogue box that opens use the figures and settings below as a guide - this way the scale of your work will be based upon a similar origin as used for the step-by-step screen grabs:
Width = 10 cm
Height = 7.5 cm
Resolution 200 ppi
Colour Mode = RGB 8 bit
Background Contents = White
Click 'OK'
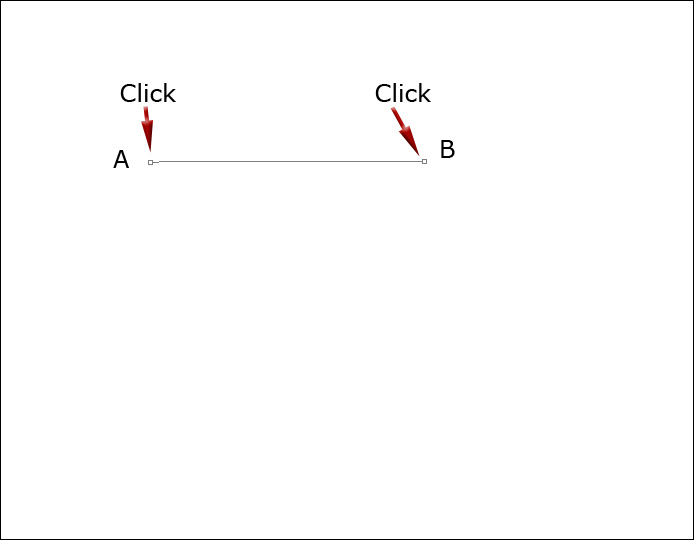
On the white rectangular new document that opens, take the cursor to point 'A' and 'click', then to point 'B', click again. You now have two dots joined by a line. This line is the beginning of the 'Path'. See below: