| |
The third way (and this is
a very useful option) by using the \ (backslash) key (to the left of 'Z' on most conventional keyboards)
- this reveals the masking you've done as a red opaque - rather like Quick
Mask. You may continue painting on the Layer Mask with the red opaque visible
if you wish. To switch the red off, use \ (backslash) key again. See below:
Note:
Should the red overlay prove inconvenient, you can change to another colour by first double-clicking on the Quick Mask icon near the base of the toolbar. This reveals a 'colour picker' box where you can choose another colour (and set the opacity) you prefer. Remember, the Quick Mask colour willl remain as set until you swap it back to red or your preference. |
| |
|
|
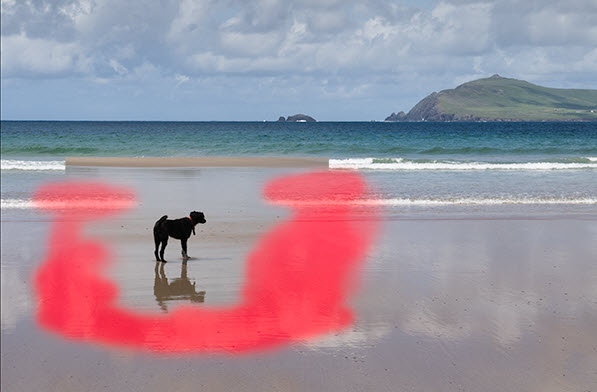
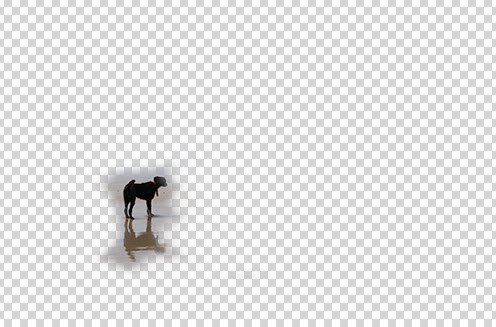
Above: Partial masking of layer revealed |
|
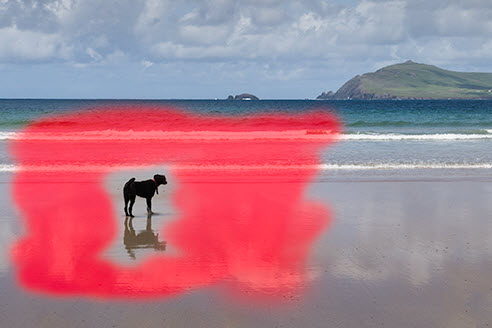
Above: More masking of layer revealed |
|
|
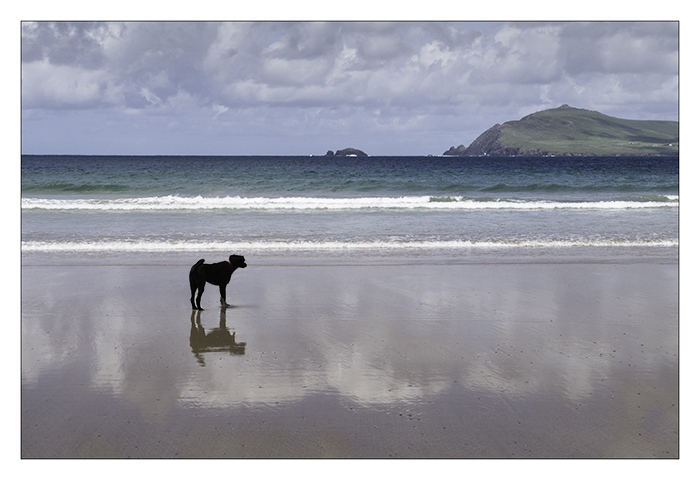
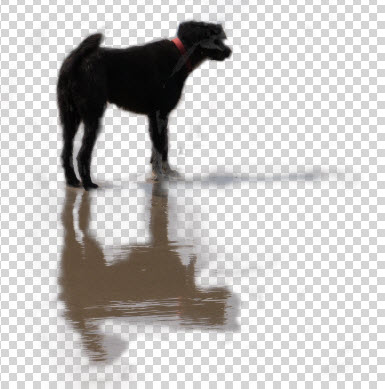
Above:
The final image
The dog's name? No idea, we called him 'Gaspode' ('Diskworld' fans may appreciate this).
|
| |
|
Making a selective Layer Mask
Should you wish to work on a specific
area within the mask and not stray beyond, you can do this by simply making
a selection around the required area ('inverse' it if you wish) and work
away - painting on the mask will stop at the selection edge.
|
| |
|
Want to Paint on the mask in dead
straight lines?
Hold the Shift key down either before
or after positioning the brush on the image. This is often easier with a 'mouse' than a graphic pen & tablet.
|
| |
|
'Hide All'
This is the other Layer Mask option (via the Layers options bar menu).
When you choose 'Hide All' (as opposed to Reveal All) the image 'disappears'.
The Layer Mask 'thumbnail' is filled in with black. The image is revealed
by painting with white. To hide again - paint with black. It all depends
on how you need to integrate the image on the layer concerned.
The quick way of opting for the 'Hide
All' Layer Mask, is to hold down the 'Alt' key when clicking on the Layer
Mask icon.
|
| |
| Before closing, a bit more about 'Masks' |
|
Using the (built-in) Layer Mask on an 'Adjustment
Layer'
One of the wonderful things about
a Layer Mask is that it automatically appears when you create an 'Adjustment
Layer'. The right-hand box on the Adjustment Layer is the Layer Mask 'thumbnail'.
When the Adjustment Layer is activated, black paint
will hide the Adjustment Layer setting and white paint will restore it.
Of course different brush pressures and opacities (shades of grey) will cause the effect
of 'painting' to be greater or lesser.
For more about 'Adjustment Layers', refer to the Know-How contents list.
Note: If you have created an Adjustment
Layer after first 'selecting' an area, then painting with black / white
will extend or hide the extent of the area initially selected - this
is really useful! Try it.
|
| |
|
Gradient
Mask
This technique enables
a smooth transition from one image to another, go to Gradient
Mask (click on the link)
|
 (Left) Enlarged detail at this stage