Digital Infrared Capture & Workflow continued
Clive R. Haynes FRPS
'Channel-Swapping'
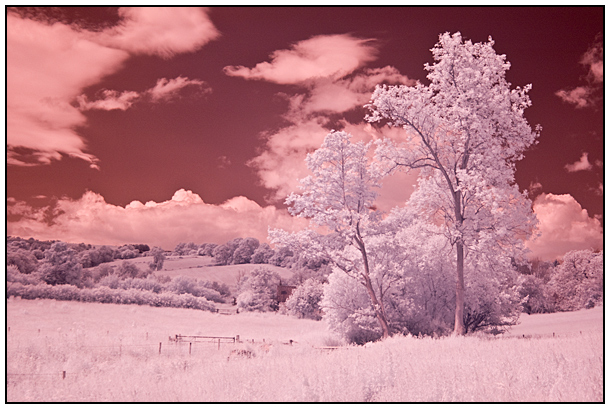
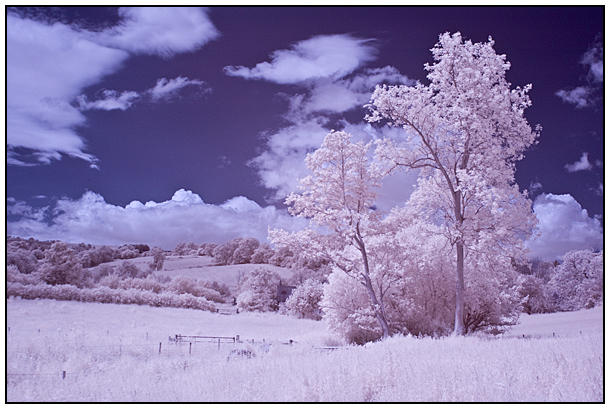
Before looking at the method for 'Channel Swapping', here are example
images showing the 'starting point' for a picture 'Summer Meadows' taken
in Herefordshire.

The display will of course vary from camera to camera (and naturally, from scene to scene). If the 'white balance' hasn't been done, the chances are that the replay image will appear very pink (something like the RAW version below).
'Channel Swapping'
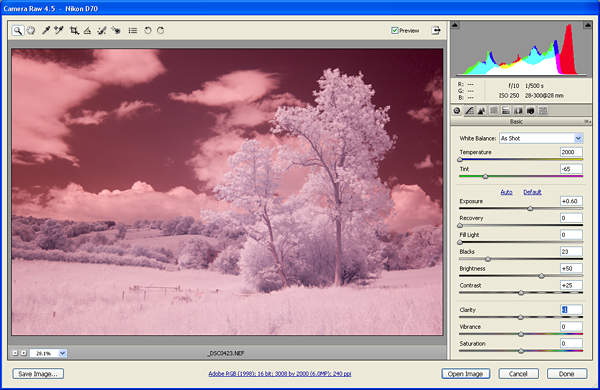
Camera RAW - The
Starting Point
Open the Image as a 'RAW' file and if required, make adjustments to the
exposure settings - that is to say, the controls for:
Exposure
Recovery
Blacks
Fill Light
Brightness
Contrast
and possibly, although not an exposure control, Clarity
'Channel-Swapping'
- The Procedure:
This option will frequently give pleasing results and as it's simple to
do, it's worth using the option as part of the 'workflow'.
Advice: for better control, this is best achieved by an Adjustment Layer:
This is what you do:
Open the selected image
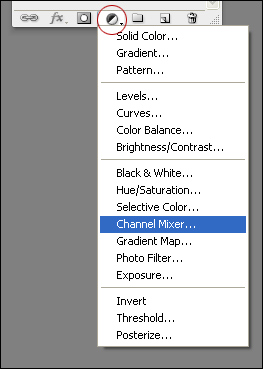
Make an Adjustment Layer (click on the haf black / half white circle at the base of the layers palette) and from the drop-down list choose Channel Mixer - see below:
With the Output Channel set RED, change the Red Source Channel to 0% and set the Blue Source Channel to 100% as illustrated below:
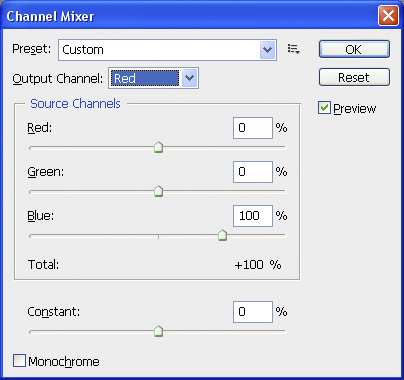
Go to the BLUE Output Channel and change the Blue Source Channel to 0% and set the Red Source Channel to 100%
Click OK ....see below:

At this stage the image may display a range of muted colours, depending upon the content of the scene.
To continue, please click on the link below