Digitally Simulate Depth of Field'
Clive R Haynes FRPS
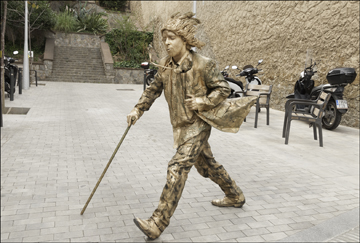
The procedure involves making a Depth Map' to select the required area, then using the features within Photoshop (filter) Lens Blur' to simulate an in-camera depth of field' / selective focus' effect that offers a degree of control.

The main sections of the process are:
Making a new channel'
Creating an accurate selection and feathering it,
Activating the channel created
Filling the selected area to be defocused' with white
Applying the lens Blur' filter to manage the amount of blur and control visibility
Note: in keeping with general good imaging practice, create a Copy Layer' for your image and work on this copy. You may wish to use the original (Background Layer) later.
This is what to do:
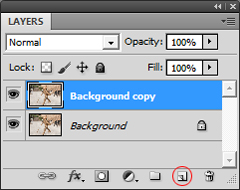
Open your image
Make a copy of the Background Layer' by dragging and dropping' the layer onto to the Create a New Layer' icon (next to the Trash Bin). See below:
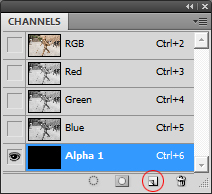
Go to Channels'
Click on the New Channel icon (next to the Trash Bin)
The New Channel appears as 'Alpha 1' - and the image goes totally black - don't worry, this is is OK
Double-click on the words 'Alpha 1' and rename as 'Focus Area'
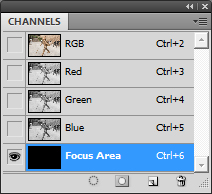
The (new) Focus Area' 'channel' appears at base of the Channels' palette with its associated thumbnail mask showing black
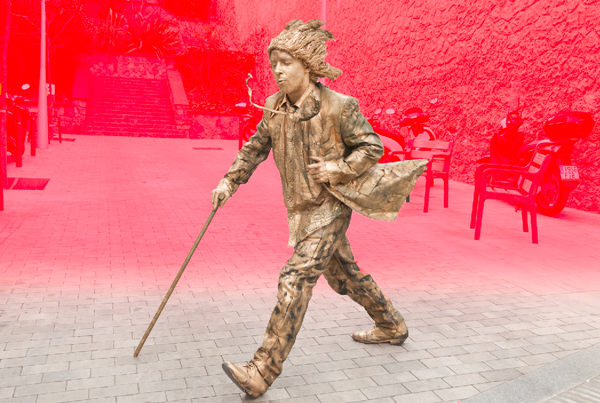
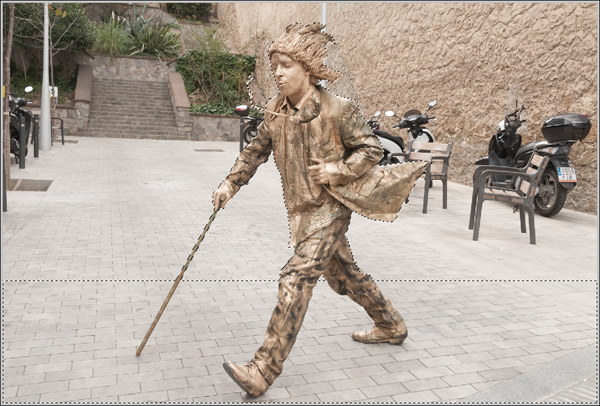
Looking at the image, make a selection to outline the area that you wish to remain in focus that is masked' and therefore protected' from blur. Use whatever selection tools will produce the best outline for your in-focus area.
NB. To make an effective and realistic transition between the sharp area and the parts to be unsharp to simulate depth of field', you'll need to soften the edges of the mask. The amount of softening will depend upon your image and your requirement. Using Feathering', Quick Mask' and the Gradient Tools will help with this.
The worked example below illustrates how by using 'Quick-Mask', the figure is revealed and how the Gradient tool is used to give a gradual 'feathering' which will simulate the transition of 'depth-of-field'.