Digitally Simulate Depth of Field' continued.....
Clive R Haynes FRPS
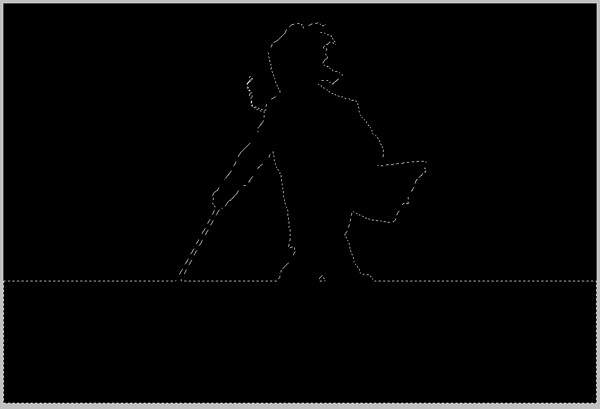
NB: You're looking for the section you wish to be blurred to be enclosed by the 'marching ants'. This depends upoon how you';ve applied the Quick Mask. If the opposite area to what is required is enclosed by the 'marching ants' then simply 'Inverse' the selection by Ctrl+Shift+I or by (top menu) Select > Inverse
In this example, the 'marching ants' have been -inversed' and now enclose the upper section of the image. This may not be easy to see on all screens.
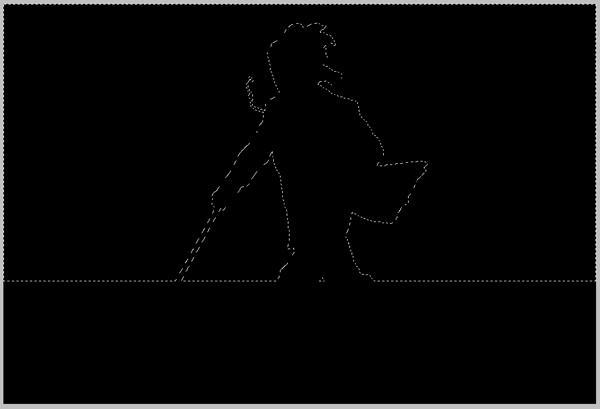
After inversing the selection:
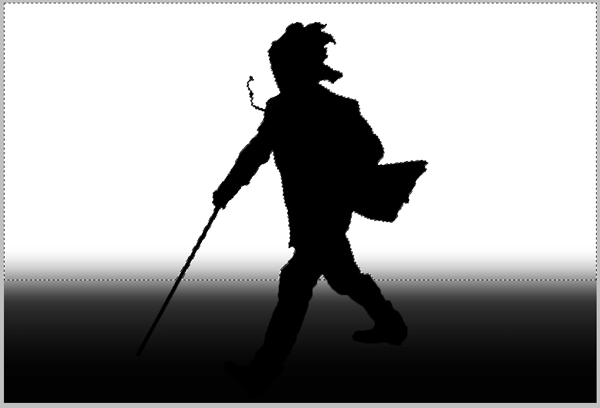
Fill with white. Here you can see the transition of focus' area displayed with feathered (blurry) edges (as below) The 'Selection' defined by marching ants' remains visible (they may just be discernable).
Should your image be a simple cut-out, then you will not have a 'feathered / gradient'. However the procedure works just the same.
Areas of white are where the focus change' will be applied, the shades of grey (should you have any) will provide a transition' whilst the parts that are black will form the mask' and keep the original content.
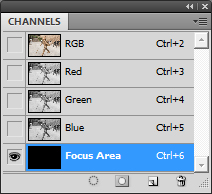
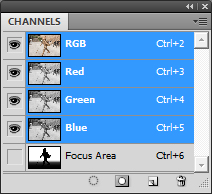
In the Channels Palette, activate RGB channel (Focus Area eye', is now 'off'). The 'Selection' (defined by marching ants') remains visible
Go to the Filter Menu and choose:
Blur > Lens Blur
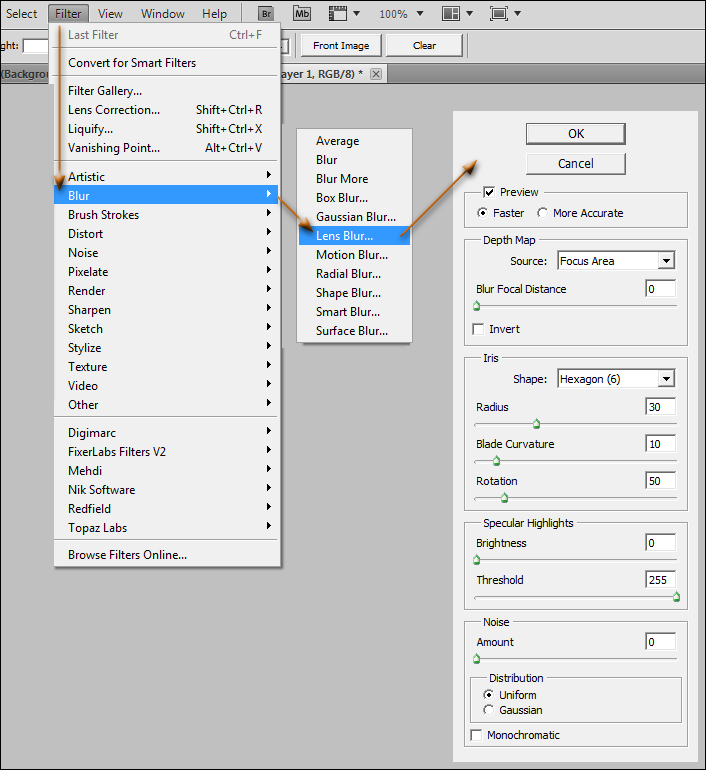
Setting Lens Blur:
A suggested starting point:
Please note that many settings (especially, Radius', Blur Focal Length' and Noise') are file size dependent - that is to say, the effect will be more aggressive when using smaller file sizes/images:
Preview on
Faster (on)
Source: Focus Area
Blur Focal Dist Adjust to choice.
NB: If over-adjusted, this setting can produce some unusual effects including inversing the Focus Area'. Use the control with caution.
Shape = Hex 6
Radius Adjust to choice
Blade Curvature = 10
Rotation = 50
Specular Highlights': This control will give accented blurry highlight detail; this can be effective for water, reflections and shiny objects.
To use, adjust the Brightness' and Threshold' slider settings until pleasing
Noise'
To make the out of focus area a more convincing a touch of noise' helps to give veracity, to begin try a level of 1 or 2. Gaussian distribution is more natural-looking' than Uniform'.
Monochromatic noise' is more effective than colour noise' (the result of not ticking the Monochromatic' box)
Suggested settings for Noise':
Amount = 1 to 3
Choose Gaussian'
Tick, Monochromatic'
Click OK'
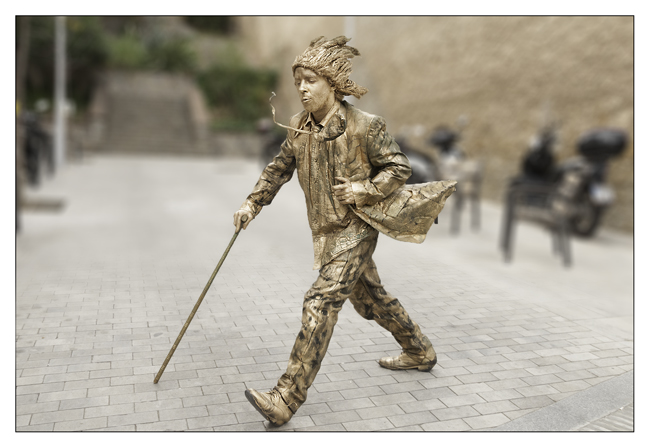
You will now have an image with simulated depth-of-field' / selective focus'.
.A Commercially Available Alternative:
Suppose that you don't want to do everything via this 'manual process'? Commercial alternatives are available and one such is from TopazLabs, this is 'Lens Effects'. Click on the link below to discover more via my Topaz pages......