Blurring the Background (continued)
Clive R. Haynes FRPS
Look at the area that's just been filled and make further Content-Aware edits or Clone-Stamp edits to clean it up. This layer is going to be blurred soon so, within reason, you needn't be too fussy about the content.
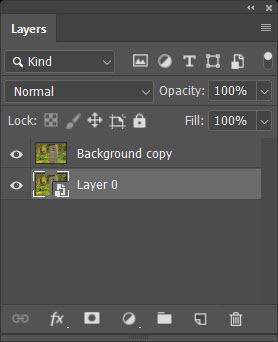
Once you are satisfied with the Background, activate the copy layer.

The 'marching ants' reappear.
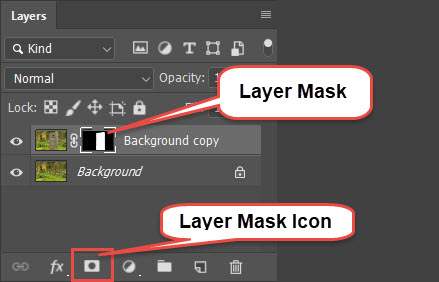
Deactivate the Background layer and with the layer mask active (click on it and a frame will appear around it - showing it's 'active), use a suitable brush and tidy up the mask to ensure the subject is 'cut out'.
Painting with Black as the Foreground Colour will conceal areas, whilst White as Foreground Colour will reveal / restore areas. A lot depends upon your subject, therefore remember, the 'Hardness' of the brush will create a hard or soft edge to the mask (it's a 'selection') and affect the transition (or join) between the subject and the background we are about to blur. The Layer Mask can be edited again later.
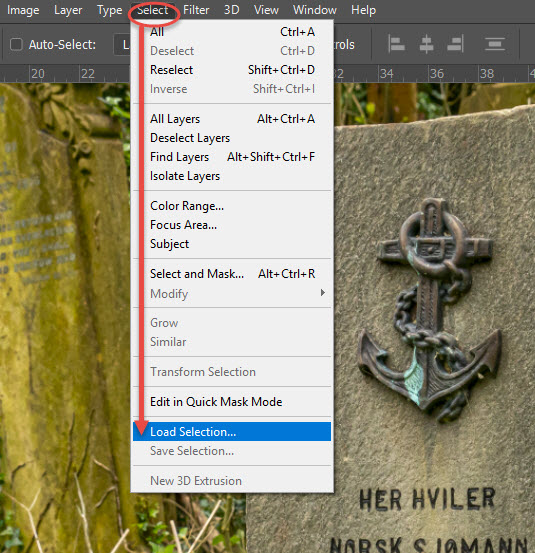
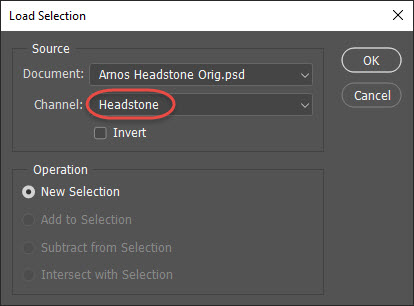
Once you are happy with the mask you may wish to resave the Selection. Do this by Ctrl (Cmd) Click on the layer mask thumbnail. Marching ants appear, save the selection as before, this time with a different name. Should you wish to 'load' this newly saved selection at any time, note that when opening the 'Load Selection' box, you'll need to click on the Channel drop-down arrow and choose the name you gave it.
Activate the Background layer and right-click. From the menu choose Convert to Smart Object. You don't have to do this but it offers useful options for later editing.
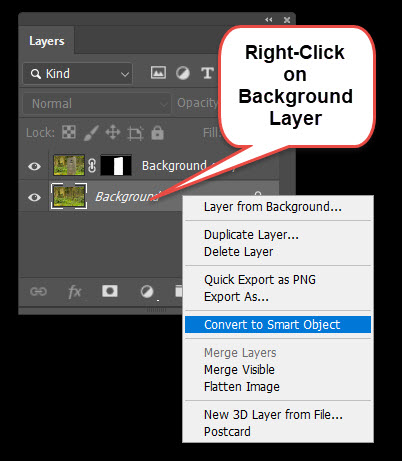
See below.