Blurring the Background (continued)
Clive R. Haynes FRPS
Go to (menu bar) Filter > Blur Gallery > Tilt-Shift. This opens a really big dialogue box. There are many controls to adjust. It's a good idea to have a 'play around' with the various sliders to get the hang about how it works. You can simply click 'Cancel' the start all over again.

To begin, tick Tilt-Shift.
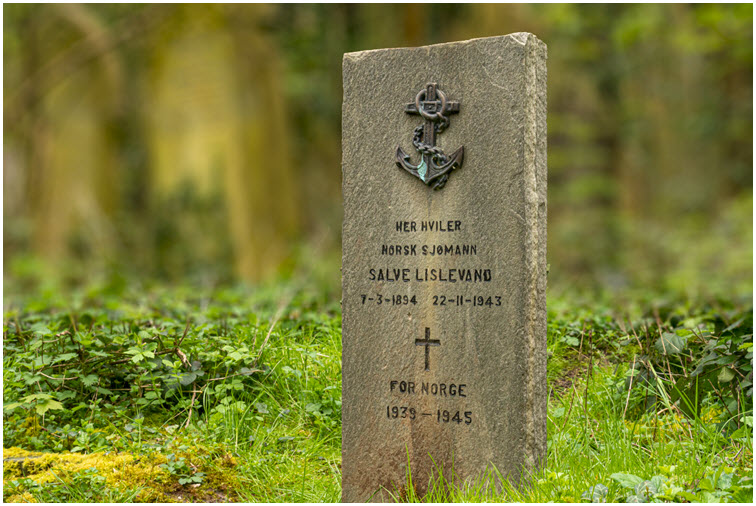
Move the Blur slider to give an amount appropriate for the image. Note: only the background to the subject will be affected.
To position the centre line for the blur, click exactly on the centre spot of the circle mid-screen and drag.
The area of blur can be set by dragging the hard and/or dotted lines.
Set the amount of blur you need with the 'Blur' slider.
To alter the angle of the blur, click on one of the blue dots on the hard line and drag at an angle.
If required the dialogue box includes options for adding 'Bokeh', for which colour and brightness can be adjusted.
When you are happy with the result, click 'OK'. The blur will be applied. This may take a few moments depending upon file size and computer memory.
Should you wish to edit the adjustment, simply double-click on the 'Blur Gallery' name upon Layer 0. This is why a Smart Object / Smart Filter is so very useful. See below.....

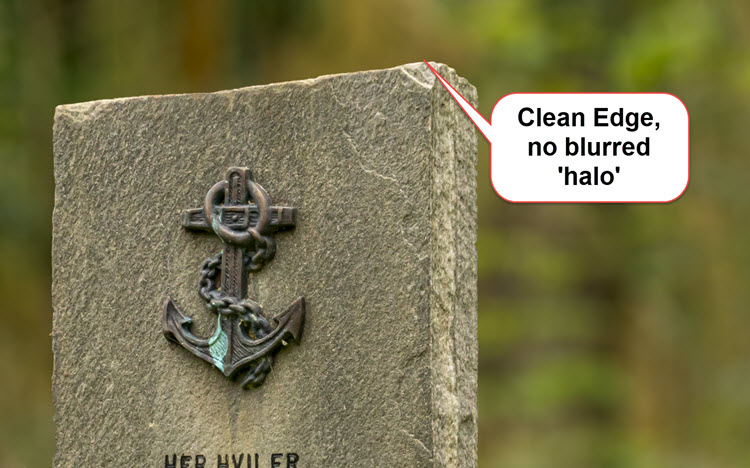
. You will notice the subject is free from the annoying blur 'halo'.