'Bevel & Emboss'
Clive R. Haynes FRPS
Bevel & Emboss
This is a topic which could run for several pages and contain numerous examples. However I'm going to restrict the information (at least for the present) to simply introducing the possibilities and suggesting that once the principle of the effect(s) is grasped then go ahead and experiment.

The Layer Style effects menu is not available to a Background layer.
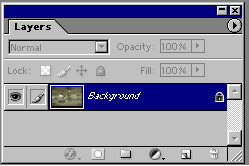
Above: A single Background layer.
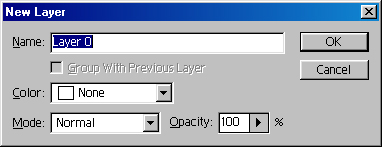
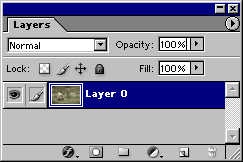
To rename, double click the layer and the dialogue box below appears
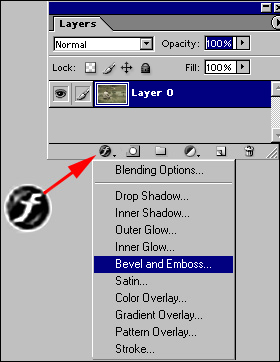
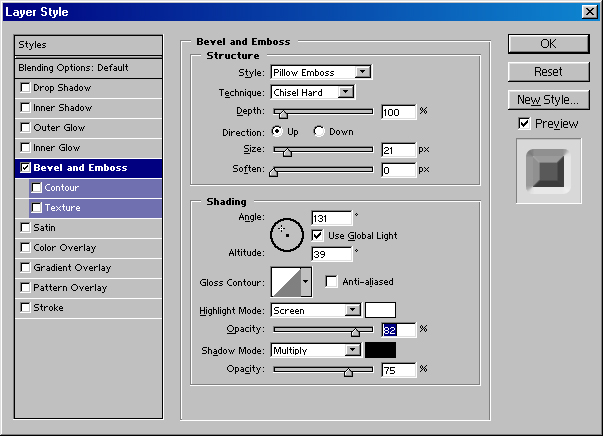
The
large 'Layer Style' dialogue box opens - see below:
This
has been a very brief introduction.
As I mentioned at the opening of this page - once you can see the possibilities - begin to experiment.
As I mentioned at the opening of this page - once you can see the possibilities - begin to experiment.