Layer Mask
The use of a Layer Mask is an essential for sophisticated compositing and the seamless melding of images.
When images on various layers are required to be part of the overall composite picture, many people simply use the Eraser tool erase the unwanted areas until the image looks correct. However the problem with using the eraser tool is that if you make a mistake you easily cannot 'un-erase', except by using 'Undo' or stepping back through the History states. Others make tedious and intricately time-consuming 'selections', only to discover that (even after 'feathering') the inserted image has a 'cut-out' appearance.
Help is at hand within Photoshop's ever-resourceful Layer facilities.
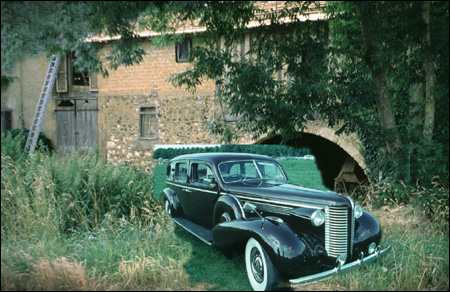
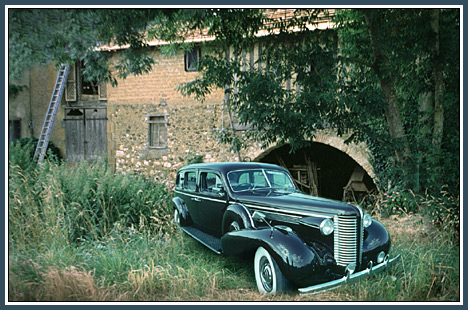
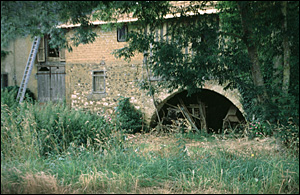
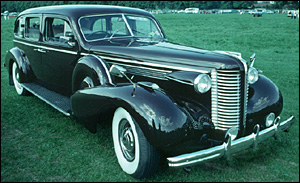
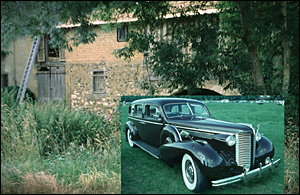
As an example we're going
to combine two images, a farm setting and a black car.
The image below shows
the final result.
To practice along side this 'worked example', choose a couple of suitable images and have a go.
Using a Layer Mask
I'll
go through the following exercise to help you understand understand Layer Mask.
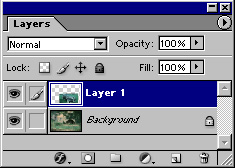 The
Layer Order after introducing the new image
The
Layer Order after introducing the new imageThis new image will appear on its own layer above the Background image.
The
Move Tool is used to position the new (car) image.
It's possible that some
'Transformation' may be required, do this via Edit > Transform > Scale
NB. Make certain that the upper layer is activated.
We'll
now add a 'Layer Mask'
A Layer Mask may be created in two ways
By clicking
on the Layer Mask icon (white circle within a grey square) at the bottom of the
Layers palette ![]()
Or via, Layer > Add Layer Mask > Reveal All (more about the 'Hide All' option later)
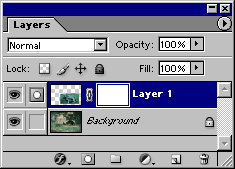
As
soon as the Layer Mask is created, the layer window will have two rectangles -
one for the image (thumbnail) and one for the Layer Mask area thumbnail ( a white,
'empty' space).
Notice the link symbol between the two. For most purposes
keep this visible (clicking on it will remove the link). The link ensures that
the image and its associated Layer Mask are locked together so that should the
image be moved, the mask will follow it.
NB Make certain you recognise which icon is which. Look at the icon to the right of the 'eye' icon in the layers palette, now, do this:
a) Click in the image rectangle (thumbnail) of the active layer and the Layer Mask (grey square with a white central circle) icon changes to a brush icon
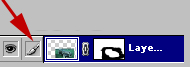 |
b) Click in the Layer Mask rectangle and it changes back again to show the Layer Mask icon
This is important - painting on the Layer Mask needs to be done with the Mask icon visible, whilst work on the image itself must be done when the Brush icon is visible.
Activate the layer containing both the image and the Layer Mask.
Make certain that the Foreground and Background colours (bottom l.h. of toolbox) are respectively black and white.

Next, choose a suitable brush and a appropriate brush diameter
With
the brush pressure/opacity at 100% paint in and around the image. You will see
that the image is stripped away to reveal the layer beneath.
To restore an
area, swap the foreground colour to white (a short cut for this is to press the
'X' key). Paint over a section that you've just erased - magic, the brush paints
it back in again.
You can change between black and white foreground colours to erase and restore as often as you like and with different opacities/pressures and brush sizes a very accurate composite/montage can be made.
You now have the use of a very powerful tool at your disposal enabling you to seamlessly meld images together.
Should you forget to click on the rectangle containing the Layer Mask to activate the Layer Mask icon, you'll paint black (or white) paint on your image - we've all done it! Thankfully it's easy to undo (Ctrl + Z, or use 'History) and continue.