Adding Sunbeams'
Clive R. Haynes FRPS
Open you image and add a New Layer above the 'Background'. Do this by clicking on the 'Create a New Layer' icon, next to the Trash Bin at the base of the Layers Palette.
![]()
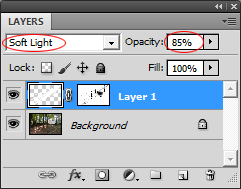
Next, set the 'Blend Mode' for this new layer to 'Soft Light' do this by clicking on the small arrow to the right of the word 'Normal' in the box at the top right of the Layers Palette. There's the option to set the Opacity for trhis layer to somethinglower than 100% see later.
Fill the New Layer with White. Go to: Edit > Fill > White.
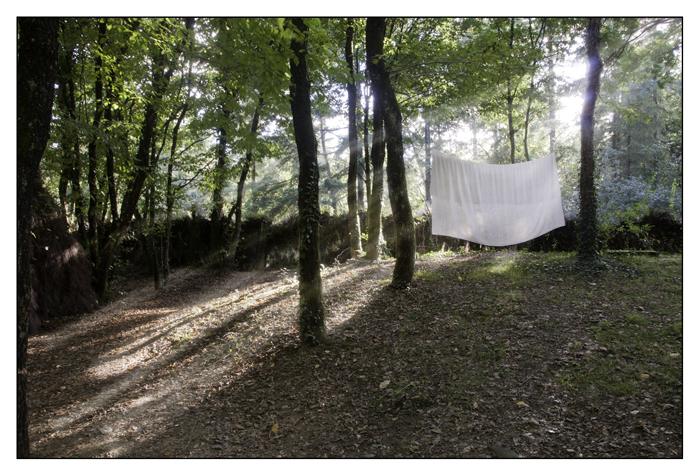
The image becomes pale as the white fill bathes the scene.
Add a 'Hide All' Layer Mask to the White-filled Layer by Alt-clicking on the Layer Mask icon (grey square with white circle) ![]() at the base of the Layers Palette.
at the base of the Layers Palette.
The white overlay disappears.
To add the 'sunbeams', you need to reveal the white that's hidden by the Black that covers the Layer Mask.
With white as the Foreground colour, choose a suitable size brush with a soft edge.
Although I'm a dedicated fan of using the Graphic tablet and pen but for this part if the operation, I prefer the jolly old mouse'.
Set the Opacity for the Brush (located on the Brush Options Bar) at about 30%.
Click at one end of your intended sunbeam', say the source end of the light', then holding down the Shift key, click at the other end of the sunbeam' and the beam' will appear as a straight-line with a soft edge. Repeat the procedure to build up the strength of the beam.
When you're happy with the beam', repeat the process for other sunbeams' and make some less intense than others to create the illusion of sunlight filtering through. Also change the size of the beams' too. To create dark shades and stripes within the beams, swap the Foreground Colour to Black and use the same method with by clicking at the source and Shift-clicking at the other end.
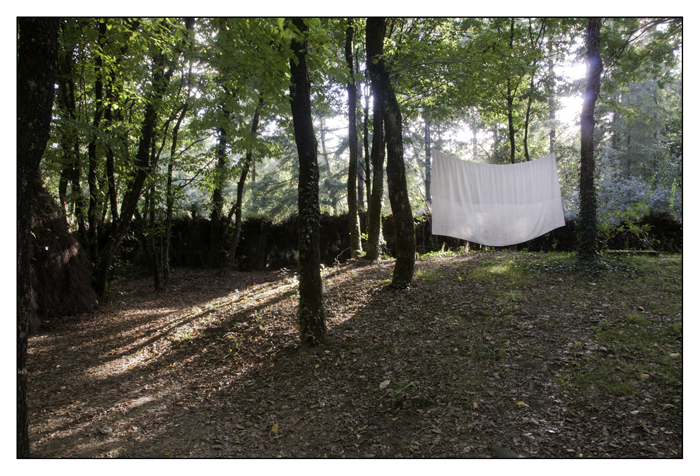
Use you imagination to build-up and arrange the spread of sunbeams' to appear as realistic as possible. Where you need to remove sunbeams' entirely, say to go behind' the trunks of tree, increase the Opacity for the Brush to 100% and with Black as the Foreground Colour, paint out the sunbeams' as required.
Depending upon your need, it may be a good idea to set the Opacity for the layer with the Sunbeams' at lower than 100%, say 85% or so.
NB: When working on the L:ayer Mask, always ensure that the Mask' for the Layer is active click on the Mask thumbnail' for the Layer and a border will appear around it indicating that it's active'.
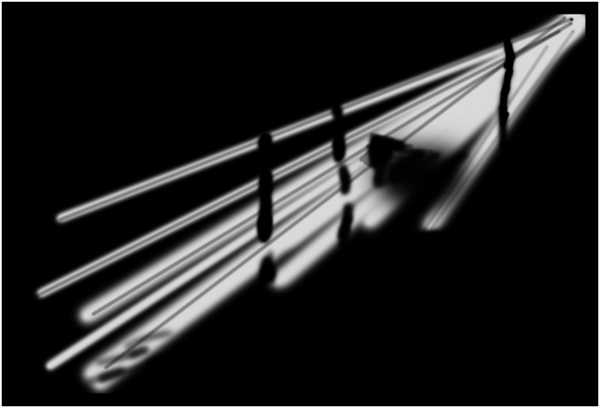
I copy below a screen-grab of showing the 'sunbeams' on the Mask Thumbnail' for the example image.