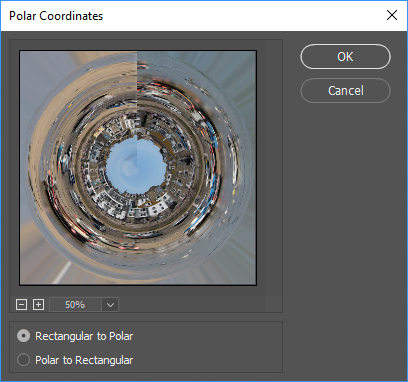
Polar Coordinates
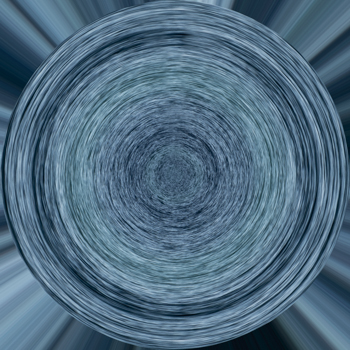
Rotary Distortion
Continued
Clive R. Haynes FRPS
Making the Distortion
Go to Filter > Distort > Polar Coordinates and select Rectangular to Polar. You can alter the viewing percentage scale to inspect the result
Click 'OK'
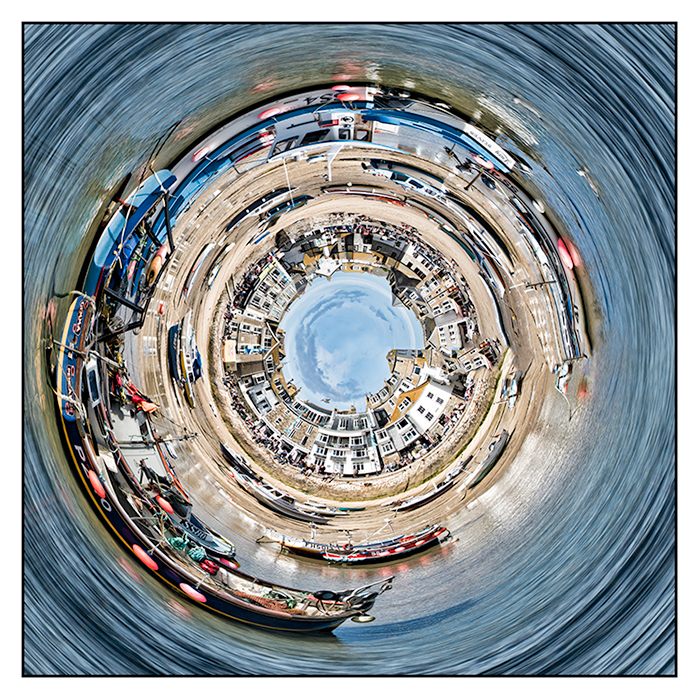
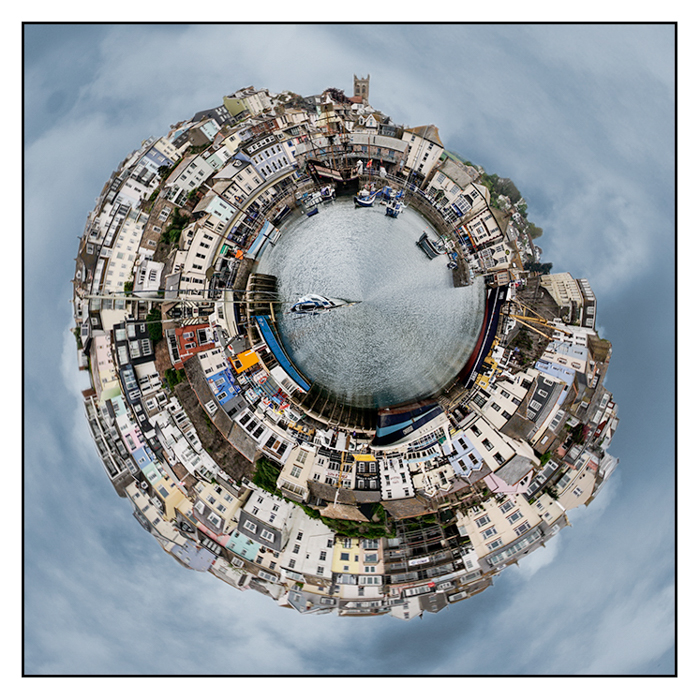
You'll notice the outer edges have radial lines and there's a distinct line where the ends have joined up.
From this point some editing will be needed to tidy things up.
Use the Clone Tool, Healing Brush or Content Aware Fill (in Edit > Fill menu) to smooth out irregularities within the scene.
To deal with the radial lines you can either erase them or fill the space with something appropriate. In this example I decided to fill the sky with sea taken at the same location I distorted the sea in the same way as above then added it to the scene. Using 'Transform' I enlarged the scale then with a Layer Mask 'painted' it around the edges.
Another refinement is to rotate the distorted image should it be not the best composition. Do this by expanding the canvas and from the Transform menu choosing 'Rotate'. Once in the correct position, the outer edges can be filled with an appropriate scene as outlined above.
One more thing, if you want an elliptical result then omit the stage which makes or uses a square image.