Polar Coordinates
Make an 'Orb'
Continued
Clive R. Haynes FRPS
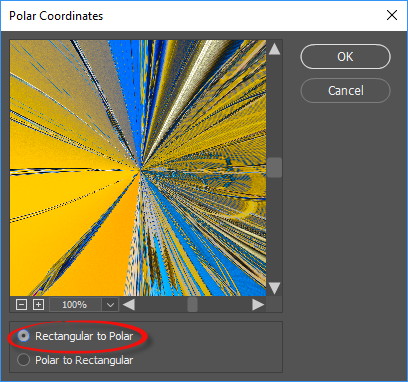
Image > Rotation > 180* > OK
Return to Polar Coordinates via.....
Filter > Distort > Polar Coordinates > Rectangular to Polar > OK (see below)
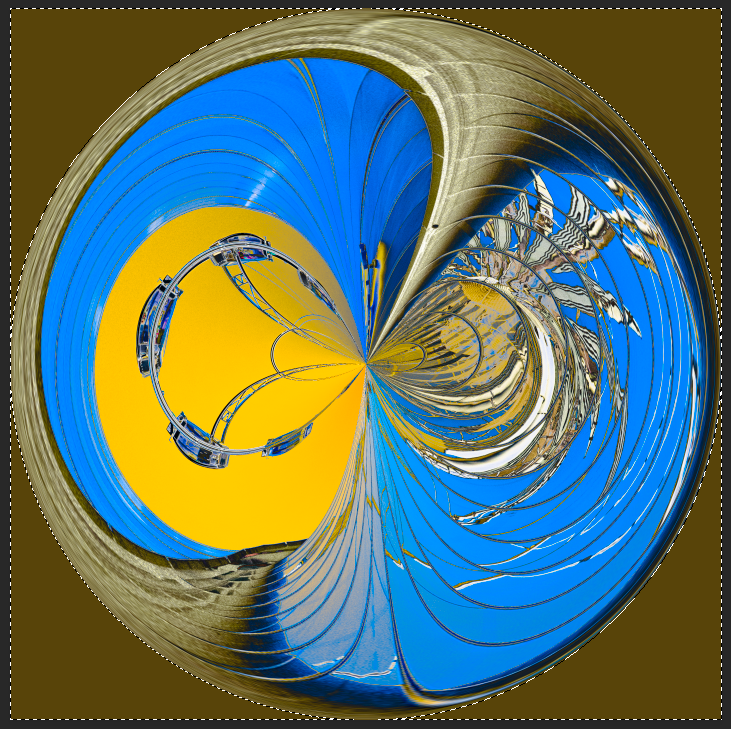
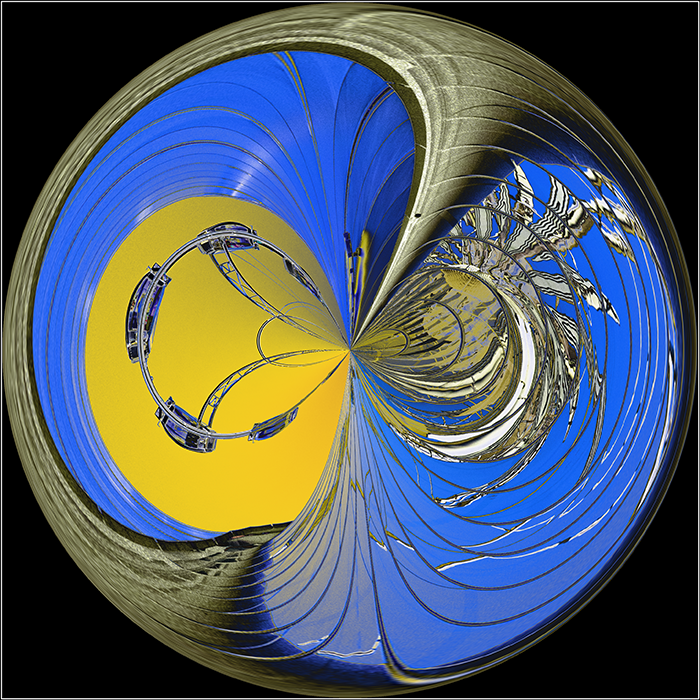
You have an 'Orb'.
It's often better to fill the four corner quadrants with black, white or a colour of your choice. Usually the speediest way is to use the Magic Wand Tool and with it set to Point Sample, 'Contiguous' ticked,Tolerance at 5 or 10 and with the 'Add to Selection' option chosen (see screen-grab below), click in each of the four corner areas to select them. However, should the selection include parts of the 'orb' itself, check that 'Contiguos' is ticked and/or try a lower Tolerance.

You can now fill the corners by
(CC version) Edit > Fill > Contents (drop-down menu) > Black, White or Color (pick one) > OK
Or for CS versions Edit > Fill > Use > Black, White or Color (pick one) > OK
Delselect (Ctrl+D)
' Make and Planet' and 'Make a Rotary Distortion'.