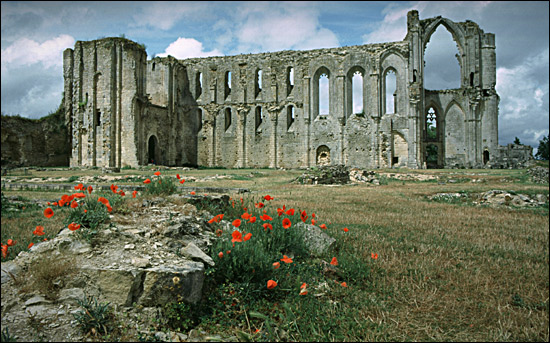
Original
Image
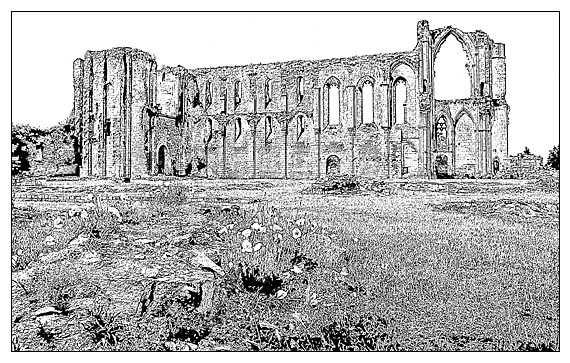
'Pen
& Ink' outline
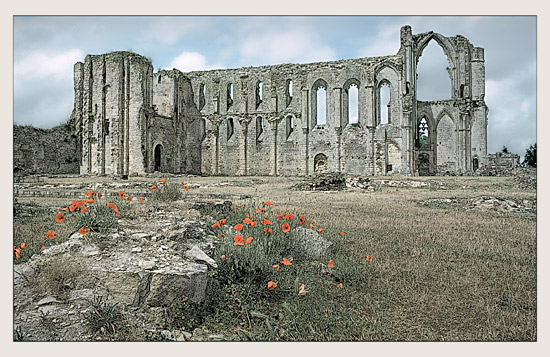
'Pen
& Ink' combined with original
PEN & INK TECHNIQUE
Clive R. Haynes FRPS
This method of making an image as a 'pen & ink sketch' has its origins in a technique developed by my colleague, Alan Davies
The technique is presented as series of 'steps' over several individual pages, click on the link at the base of each page to continue
The final three sections explore other possibilities by combining the Pen & Ink version produced with the colour original
|
|
|
Original
Image
|
|
|
|
'Pen
& Ink' outline
|
|
|
|
'Pen
& Ink' combined with original
|
|
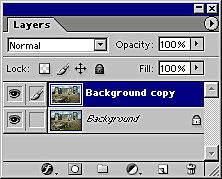
This graphic technique will create a 'pen & ink' line drawing from a photo, digital file or scanned image STEP 1 Duplicate the image by dragging the Background on to the New Layer icon. This new the layer (Background Copy) is the one to which the 'pen & ink' treatment will be applied. Tip: Should the image be a little 'soft', apply 'Unsharp Mask' to enhance the edges. |
||
|
||
|
To
continue, click the link below
|