Layers
Introducing More Layers
Clive R. Haynes FRPS
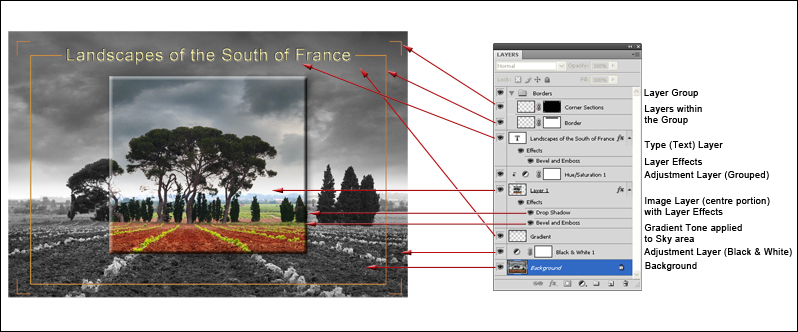
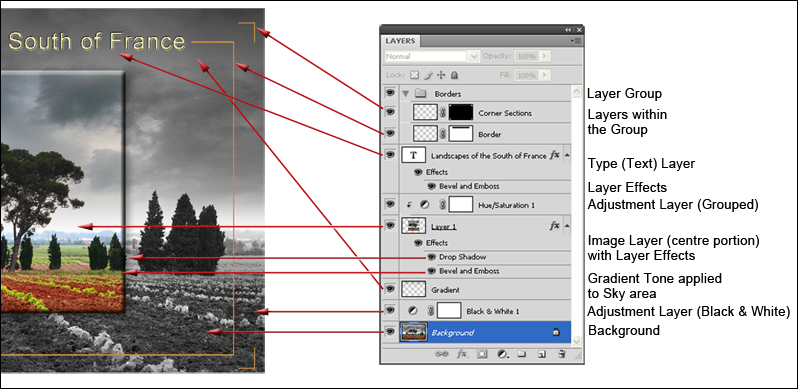
For a better appreciation, I have illustrated different types of 'Layer'. To make the references clearer, I've enlarged the Layers Palette side of the image above.
One of the purposes for creating 'Layers' is to keep areas and sections of the composite image separate from one another. The separation has the advantage that each layer may be edited and adjusted separately and if needed, simply deleted without damaging consequences to other parts of the image.
After a few steps Layers tend to look complex as each layer represents a new development within the structure of the total image. Looking at the example above, the layer structure initially appears baffling and complex. Try to think of it as a new word and approach is syllable-by-syllable as you would an unfamiliar word such as 'Circumbilivagination' (meaning to walk about in a circle - yes and we all feel like this sometimes!) Once broken down into its components parts the whole structure becomes understandable - and for this word, pronounceable!
I'll pay particular attention to the layers that are less familiar so starting from the bottom up:
Background: We know what this is - the base layer in the stack.
Adjustment Layer (for Black & White) this rendered the layer image below as monochrome - it's an 'Adjustment layer' so it can be returned to at anytime and be readjusted.
Gradient: This is simply a New Layer, renamed for reference and a 'gradient' (gradual change in tone) has been applied to it.
Image Layer with Effects: The image is a copy of the background (as a colour image, trimmed to size) and the Effects menu has been activated with 'Drop-Shadow' and 'Bevel & Emboss' options chosen. The effect is to cause the image to 'stand' off the background.
Adjustment Layer (Grouped). This layer for Hue & Saturation has been 'grouped' or 'clipped' to only influence the layer immediately below.
Type (Text) Layer with associated Layer Effects Layer (Bevel & Emboss). Using the 'Type Tool' the text has been created and to give it a little relief, 'bevel & emboss' has been used.
'Layer Group' with Layers within the Group Revealed. For better management and convenience it's sometimes helpful to place a set of layers within a 'folder' - this is known as a Group. For more information about 'Groups', click on this link: Layer Group.