'Digital Watercolour Technique '
continued...
Clive R. Haynes FRPS
Applying Texture:
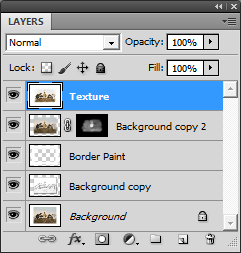
Create a new (empty Layer) at the top of the Layer stack.
Hold down Shift + Ctrl + Alt + E' (The History Palette' will record this as Stamp Visible') and all the layers will merge into one. Name this Layer Texture'. This is the layer which the texture will be applied. See below.
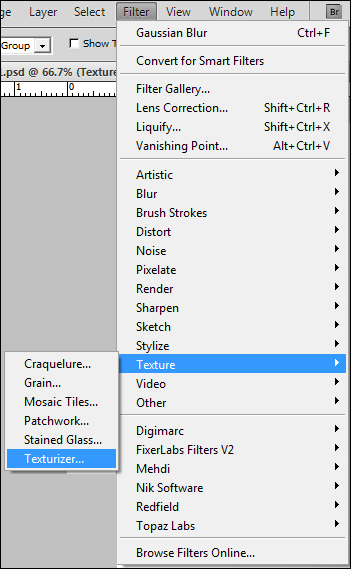
Go to Filter > Texture > Texturizer
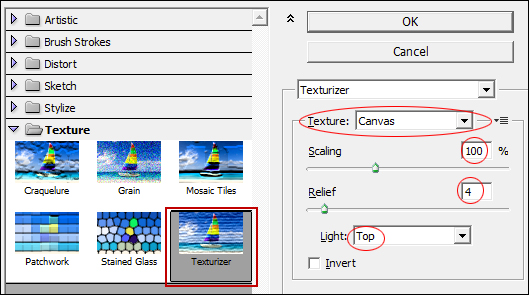
Many settings and textures are now available. To begin, try this:
Texture: Canvas
Scaling: 100%
Relief: 4
Light: Top
Invert: Not 'Ticked'
Click OK'
See screen-grab below
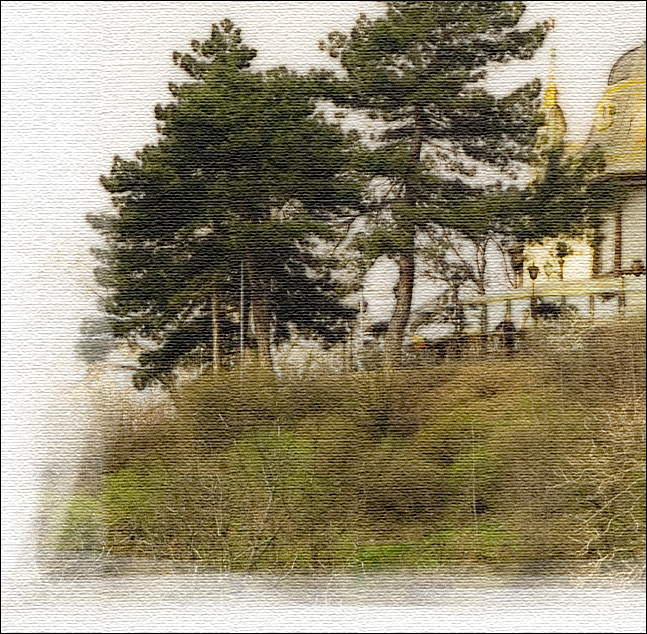
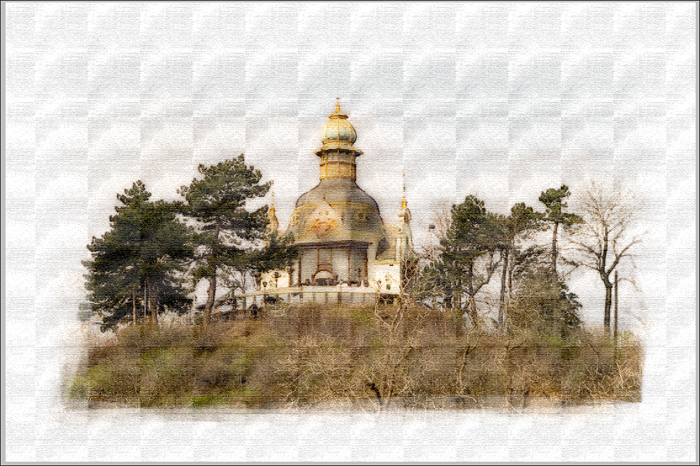
NB: At this stage, you may note when applying texture that square-looking patterns appear. These patterns are simply artifacts' and will not appear on a print. They are Moiré Patterns and visible by the interaction of the lines of canvas texture and the scanning lines of the monitor screen, the patterns will vary depending upon screen magnification. At some settings they'll disappear. To prove they are not really there, view the image at 100% or Actual Pixels' (View > Actual Pixels, or Quick-Key: Ctrl+1 also Ctrl+Alt+0)
The intensity of the texture can be controlled by adjusting the Opacity for this layer.
As an option a Layer Mask can be applied to this layer and this will enable areas of texture to be selectively erased and restored if needed.
Finally, crop the image to shape.