Diffusion Blur & Glow
Clive R. Haynes FRPS
This technique has its roots in the practice of making 'montage' images by combining ('sandwiching') two or three colour slides of the same subject in register in the same mount and creating an eerie diffuse 'glow' by blurring and over-exposure.
Like many photographers, I enjoyed the fascinating, impressionistic and frequently surreal combinations of colour, contrast and patterns that 'sandwiching' colour slides could produce. The method was always chancy and relied upon an element of serendipity for its success. However, if one wasn't prepared to experiment, the opportunity to produce some truly stunning pictures was lost as too was the knowledge that could be gained from such experimentation - not to mention that it was fun! The same is true for digital imaging techniques; we must continue to experiment to reveal new ways of making pictures and to better express ourselves.
We can mimic the diffusion effect of 'sandwiching' two colour slides - one sharply defined (over-exposed by one stop), the other, very blurred (over-exposed by two-stops). However, there's more than one way of achieving a result which approaches the original 'slide sandwich' - typically this would involve several copy layers plus some 'adjustment layers' to tweak and correct the image along the way.
The method described below will produce a quick result and one that can be 'adjusted and tweaked' for 'fine tuning'. The early stages of this method use a slightly uncommon route.
Please note, it will be an advantage to have a knowledge of Photoshop to enable easy use of 'Layers, Layer Masks, Adjustment Layers and Blend Modes. Please refer to sections of the 'Know-How' list for further advice about these topics.
NB: The method automatically creates two duplicate (copy) files.
Let's start.....
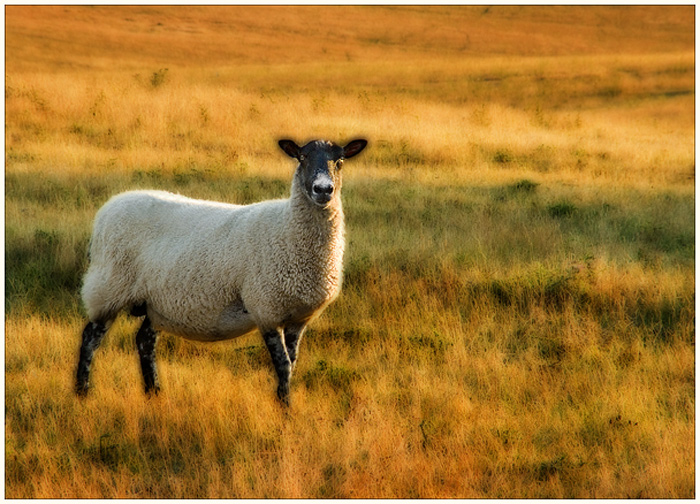
Open your chosen image
Next:
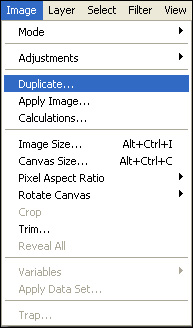
Go to the Image menu and choose 'Duplicate' - OK
We
need to lighten this 'Duplicate' image to simulate the appearance of about two-stops
over-exposure do this by:
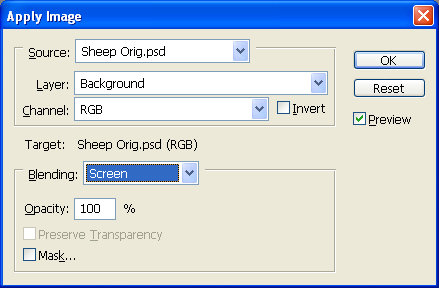
Image > Apply Image
In the dialogue box that
opens, choose 'Screen'
Opacity 100%
Mask - Not ticked
Click OK
This creates the first separate duplicate file.
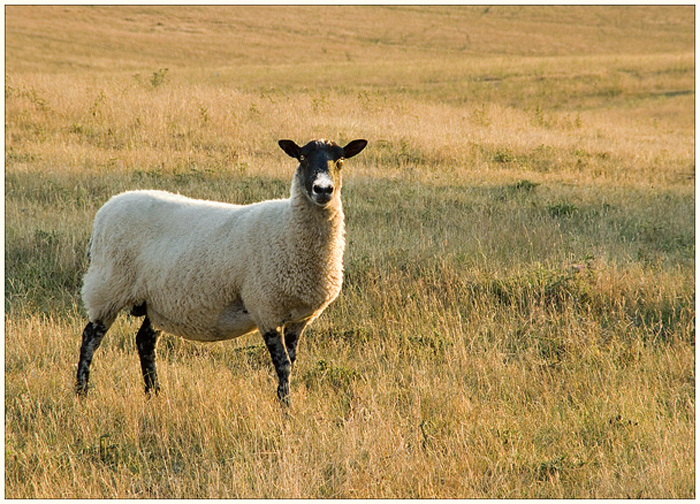
See 'Screen Grabs' below

Above: The image has an over-exposed appearance
Image > Duplicate
Next:
Blur
> Gaussian Blur
Set the Radius to quite severely blur the image.
Note:
The effect will be pixel / file-size dependent. For the example herewith, the
file size is around 5mb and the blur 'Radius' was set to 10.0. For 10mb images
(A4 size @ 200ppi) experiment with Radius settings of say, 40 to 60 and for 20
- 25mb images (A3 size @ 200ppi) experiment with Radius settings of say, 80 to
120. The precise amounts will very considerably from image to image depending
upon content and what is aesthetically pleasing.
This creates the second duplicate file
Next:
Copy
and paste this blurred image (duplicate file) to above the original (sharp) 'Background' image . Do this by either Select
> All Edit > Copy Select > Deselect Go to the origianal (sharp) image, Edit > Paste
Or, use the Move Tool and with the Shift key held down, drag the blurred image to the original (sharp) image. NB: To ensure accurate registration, release the Shift key after releasing the mouse click (or graphic pen)
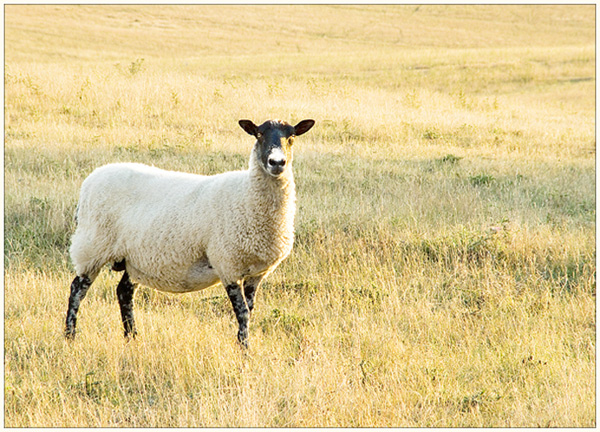
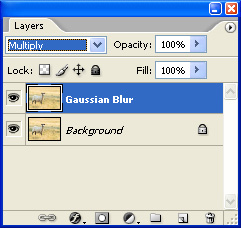
Change the Blend Mode of the blurred layer to 'Multiply' (top of Layers Palette, click on drop-down arrow to the right of 'Normal' - from the list choose 'Multiply') You now have an image with a diffuse glow and sharp areas 'popping through'.
If you wish to make further refinements and adjustments to the image, it's a good idea to open another 'Window' to help with decision-making. With another 'Window' it's possible to view the image in detail at the same time as keeping an eye on the overall effect.
At this point you could choose to delete the two duplicate image files.
To open another 'Window' go to Window > Arrange > New Window
From this point there are numerous combinations and experiments.Click on the 'Further Options' link below to discover more.