Curves
Clive R. Haynes FRPS
To continue our
exploration of 'methods of adjustment' within Photoshop we'll look at
'Brightness & Contrast' next.
.
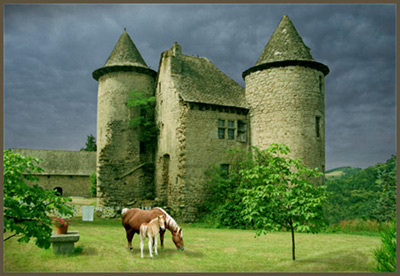
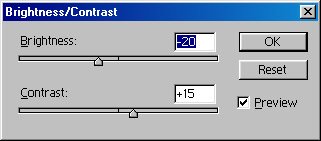
Brightness & Contrast
Here's the same image again, this time adjusted simply by using the
two 'Brightness & Contrast' sliders.
However, this is still not very much by way of 'control' and it's not
particularly flexible or subtle.
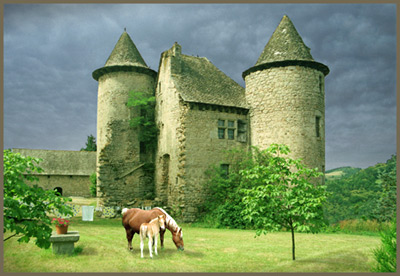
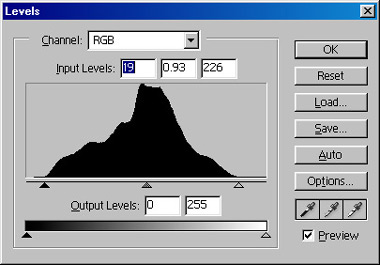
Levels
'Levels' offer a greater degree of control and sophistication.
We now have five points of
control (three 'input' and two 'output'), with the added sophistication
that we can set both the 'black point' and the 'white point' and have
control over the mid-grey setting

Note the flat lines at each end of the histogram. These represent the darkest tones (lh) and the lightest tones (rh) within the image. The darkest tone falls short of absolute black and the lightest tone fall short of absolute white.
The triangular sliders can be moved to set the 'black point' and the 'white point'. Doing this will improve image contrast.
The mid-point for the image 'exposure' can be set with the centre triangular slider without adversely affecting the black or white points of the image.
'Levels' therefore introduce a more subtle form of control.
(For more information about using 'Levels' click on the link below)