Making Tri-Colour Images
Clive R. Haynes FRPS
It's great to experiment with our image-making and simply produce different pictures for the joy of it. One simple method that frequently intrigues people and one can produce some highly imaginative and different results is the Tri-Colour Method'.
I used this technique when shooting with film. It was somewhat unpredictable and necessitated calculating a different exposure value for each of the three separate exposures on the one frame of film. Each exposure used a different on-thelens colour filter. Thankfully with digital imaging it's now very simple. This is what you do.
For preference, set your camera on a tripod. It's possible to shoot without using a tripod; however, it will cause some alignment problems and more of this later.
Choose a subject where parts of the scene remain static whilst other components include movement. Consider subjects such as waterfalls, fountains, clouds, people, leaves fluttering in the breeze or waves upon the shore for example.
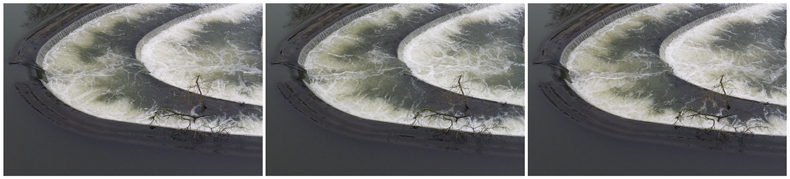
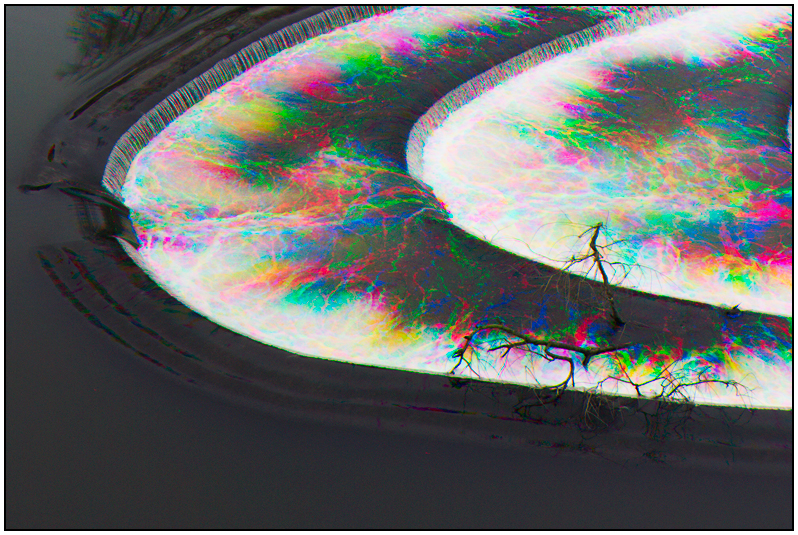
The weir at Bath. The water pattern in each frame is subtly different
Take three shots of the scene (as in the above example).
After (any) initial RAW processing the three images in Photoshop.
Open image number 1
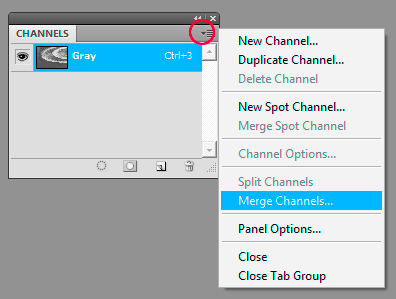
Go to the Channels Palette, click on the top-right arrow to get the fly-out menu, choose Split Channels'
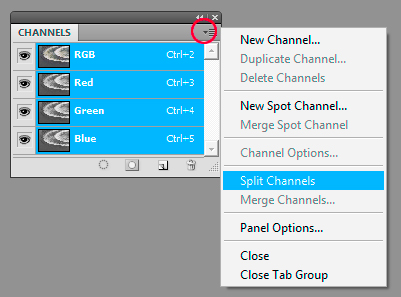
The image will now become monochrome and displayed as three separate images, one for each channel.
Delete the (B) Blue channel and the (G) Green channel for 1.
Open image 2
Delete the (R) Red channel and the (G) Green channel for image 2
Open image 3
Delete the (R) Red channel and the (B) Blue channel for image 3
You now have three monochrome channels, R, G and B, one channel from each image.
In the Channels Palette, click on the top-right arrow to get the fly-out menu once again and choose Merge Channels'.