Sharpening with 'Darken' & 'Lighten' Blend Modes
Clive R. Haynes FRPS
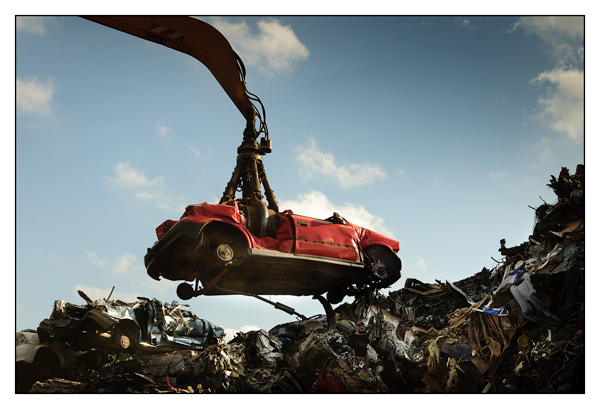
It is often undesirable to sharpen the entire image as 'noise' may be sharpened in areas such as the sky, etc. Frequently it's only necessary to apply sharpening to key areas of the image. This can be done by placing the two 'sharpening layers' into a 'Group', then adding a Layer Mask to the Group.
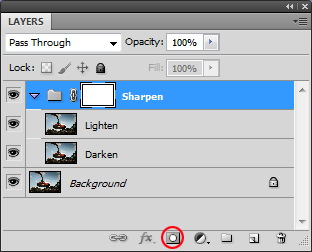
Drag and drop the two layers onto the 'Create a New Group' icon at the base of the Layers palette.

Label the Group, 'Sharpen'
Add a Layer Mask to the Sharpen Group by clicking on the Layer Mask icon at the base of the Layers palette (circled in red below)
Note: The two layers within the Group can be revealed by clicking on the small arrow at the left side of the Group layer
Select the Brush from the Toolbar and use black as the Foreground Colour to remove or reduce sharpening and White as the Foreground Colour to restore sharpening. Shades of grey between black and white will vary the opacity. In this way a subtle blend of sharpening can be applied to only those parts of the image where sharpening is needed.
If required, the two layers within the Group can be independently adjusted